Find Samples
To add to your samples basket, simply navigate to a product you're interested in, select the colour you like and press the + icon on an empty sample slot.
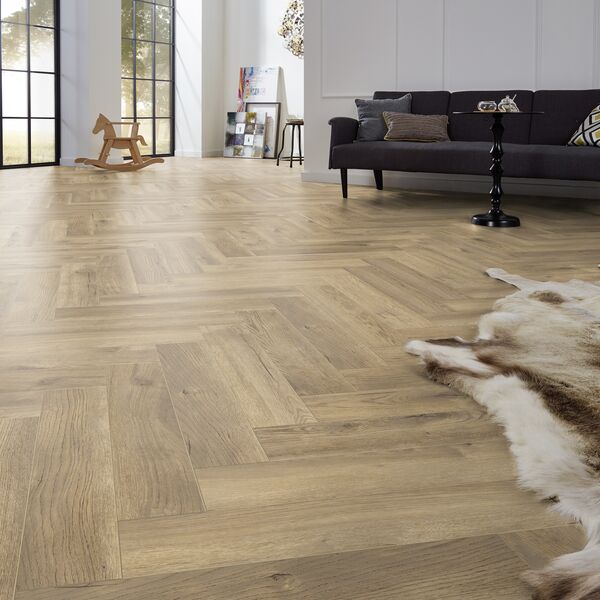
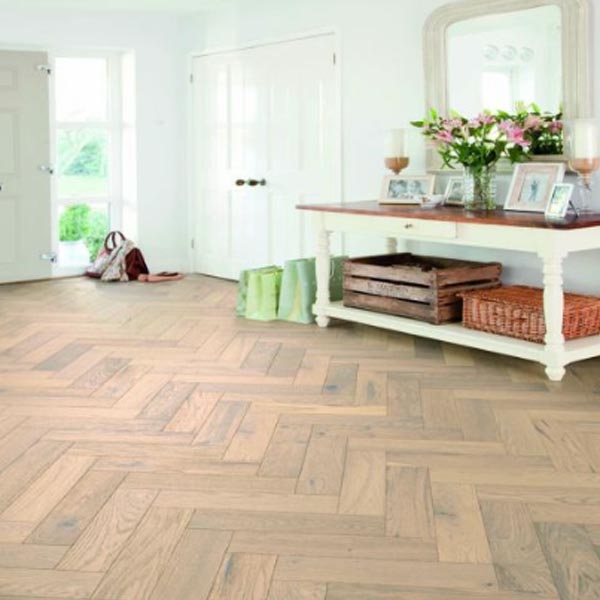
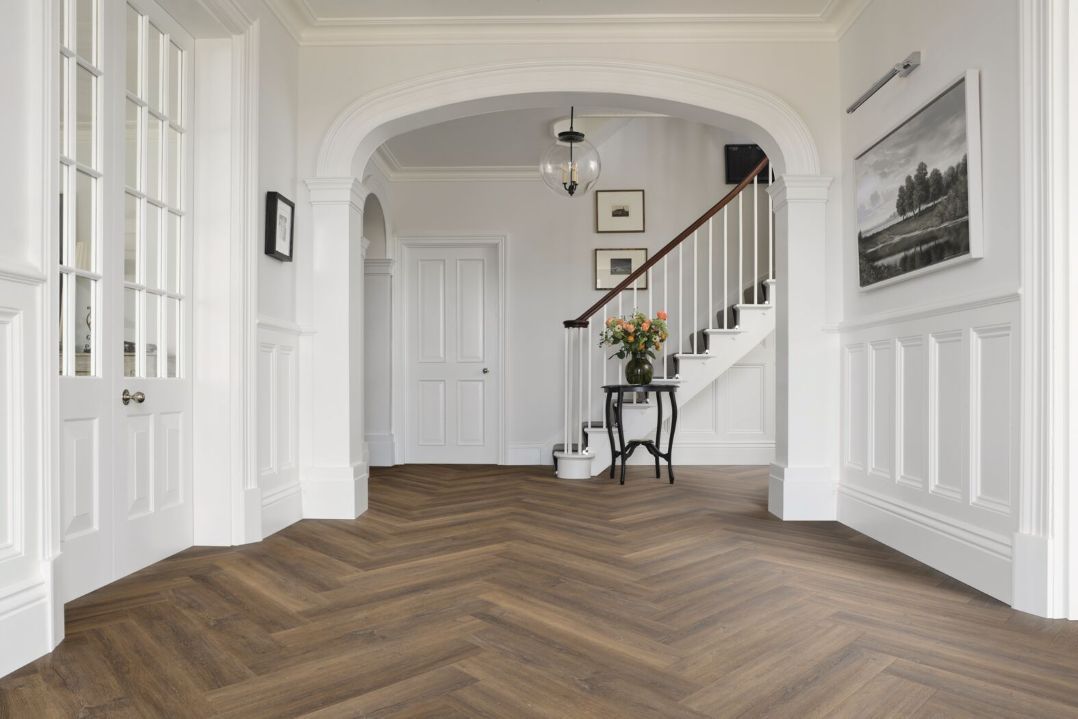
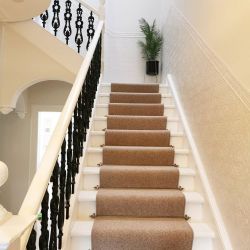
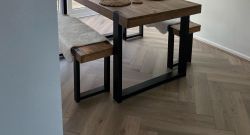
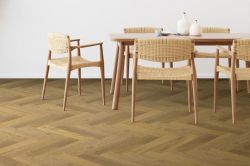
Highly prized for its elegance and class, herringbone flooring is a classic flooring style used in plenty of modern and traditional homes. But when it comes to laying herringbone flooring, this can be a tricky task.
Maybe you’re taking on a DIY herringbone flooring installation project. Or perhaps you’re opting for a professional fitting service, and you’re interested in the process. In this guide, we’ll take you through how to lay herringbone flooring, using time-tested methods for laying herringbone laminate, luxury vinyl, and engineered wood.
We’ll fill you in on all the equipment you’ll need and explain the difference between laying herringbone flooring on concrete vs plywood subfloors. So, keep reading to discover all our herringbone flooring installation tips below!
In this guide:
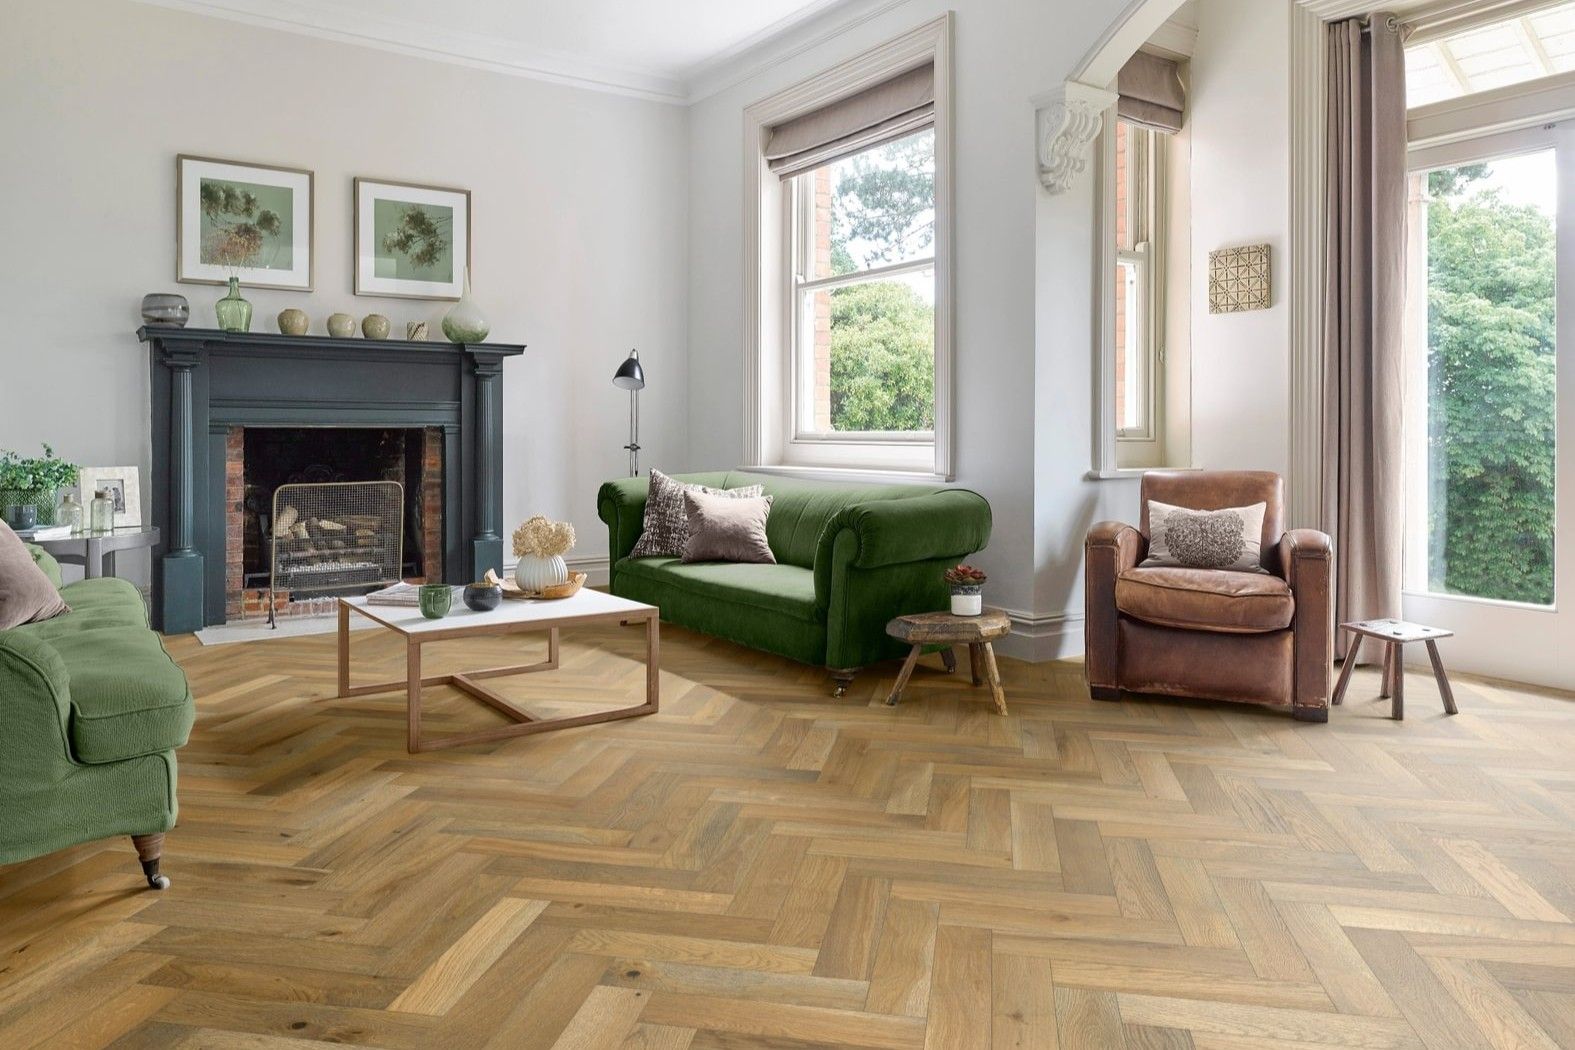
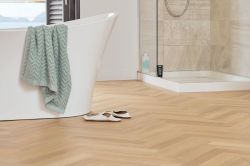
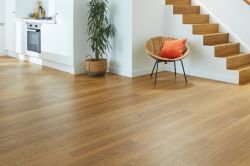
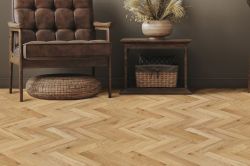
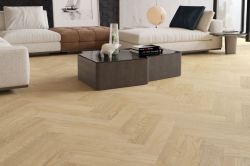
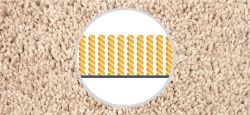
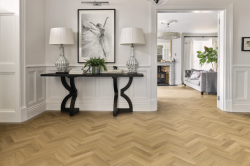
Herringbone flooring is a timeless look that’s been in style for hundreds of years – and it’s easy to see why. This angled look uses wood planks and places them at 90-degree angles from each other to create an alternating zig-zag pattern, adding interest to your floor while remaining subtle.
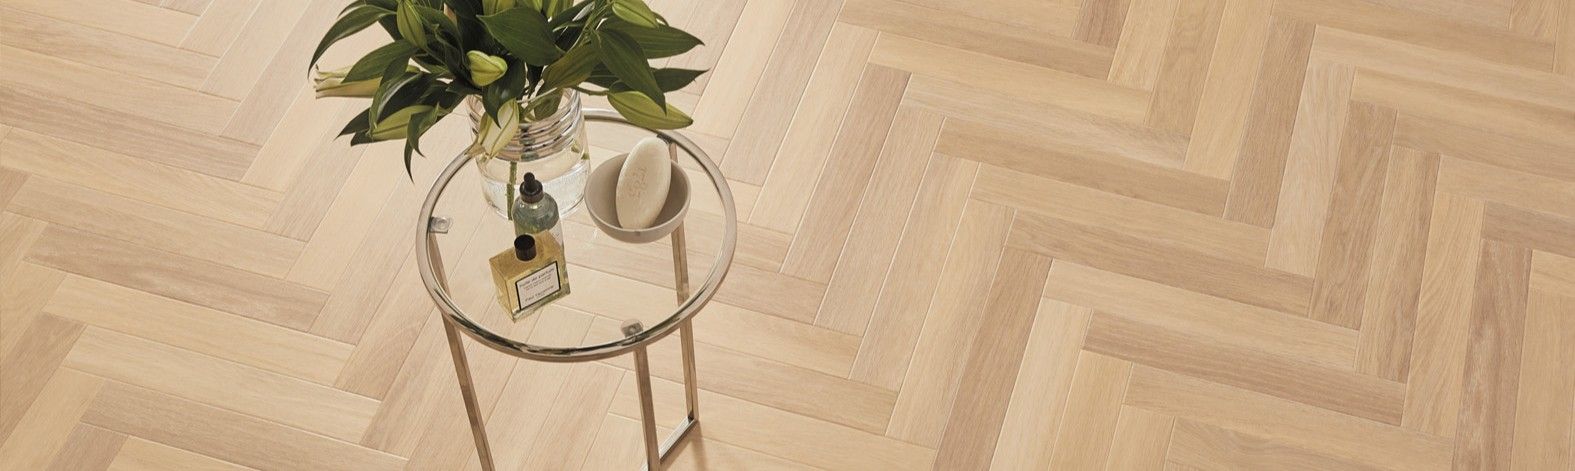
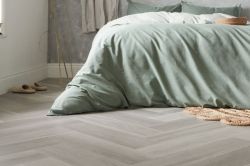
There are lots of different patterns you can create on a herringbone floor, and different lengths and widths of planks can really vary the effect of herringbone flooring. There’s the single classic herringbone, or you can go for double herringbone, which doubles up the planks to create a thicker pattern. There’s also parquet style herringbone flooring that uses much smaller planks for a more traditional look.
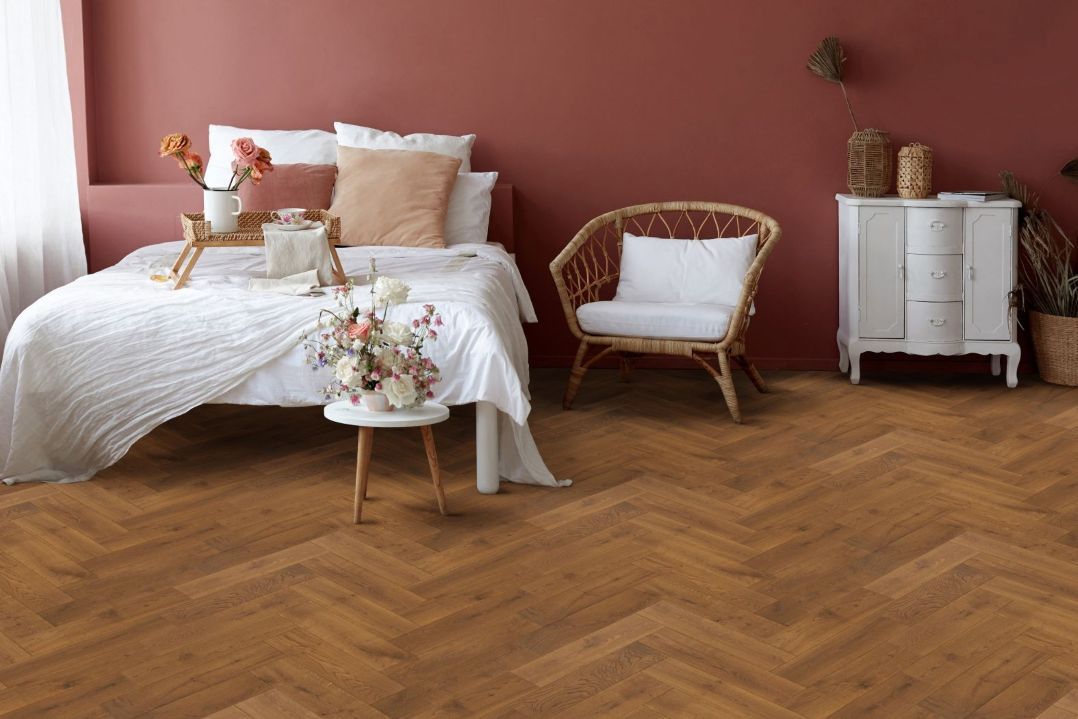
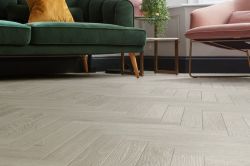
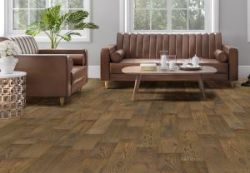
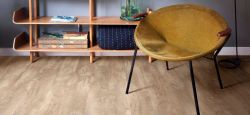
Herringbone laminate is increasingly popular because it’s versatile and long-lasting, and its design makes it a lot easier to install the flooring too, as each board just clicks together. You can also install luxury vinyl tiles (LVT) and engineered wood in a herringbone style. Durable and luxurious, both offer many great qualities that make them well worth the investment.
There are a minimum of six steps you’ll need to take to lay your own herringbone flooring, as it can be a tricky pattern to get right. There are lots of different variables here as each flooring type will all have its own installation method and requirements. Make sure you read the installation instructions before you begin, or it could be a costly mistake!
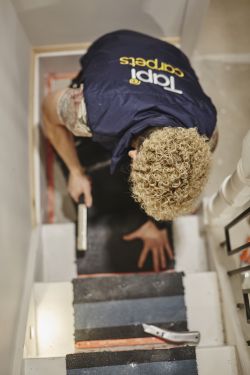
We always recommend letting us arrange professional fitters when you buy herringbone flooring from us, as the installation process can be complicated. It’s why herringbone fitting costs are more expensive than straight planks. The fitters have years of experience so they’ll know exactly how to lay herringbone flooring in different shaped rooms and how to centre the planks all the way along – ensuring that your flooring is fitted to perfection.
If you want to learn more about the fitting process or have a go yourself, find out how to lay herringbone laminate flooring or LVT with our six steps below:
Step one is preparing your room for new flooring. You’ll need to ensure that:
If you’re installing herringbone laminate, this is the time you would lay down underlay. Find out more about how to lay underlay and other helpful guides in our DIY corner hub.
When it comes to marking the centre of the room, here’s where you might find some conflicting information:
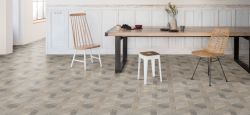
It’s important to point out that smaller planks can sometimes create more wastage, depending on the size and shape of the room. Our floorologists can help you work out whether you’ve picked the right herringbone flooring for your space – just pop in store or get in touch via the website.
Before fitting your herringbone flooring, it’s important to consider the expansion gap around the room. Use spacers as you go to keep that important gap between the plank and the wall. This will ensure your flooring has room to expand and shrink in changing temperatures, so you shouldn’t have any nasty surprises like planks breaking, bulging, or moving unexpectedly.
All herringbone flooring has installation instructions in the packs or a QR code that takes you to the manufacturer’s website. The herringbone fitting method will also vary depending on whether it’s a click or drop lock system – below are the instructions for click fit flooring as this is our most popular installation method.
You will need a total of five boards to start your herringbone pattern.
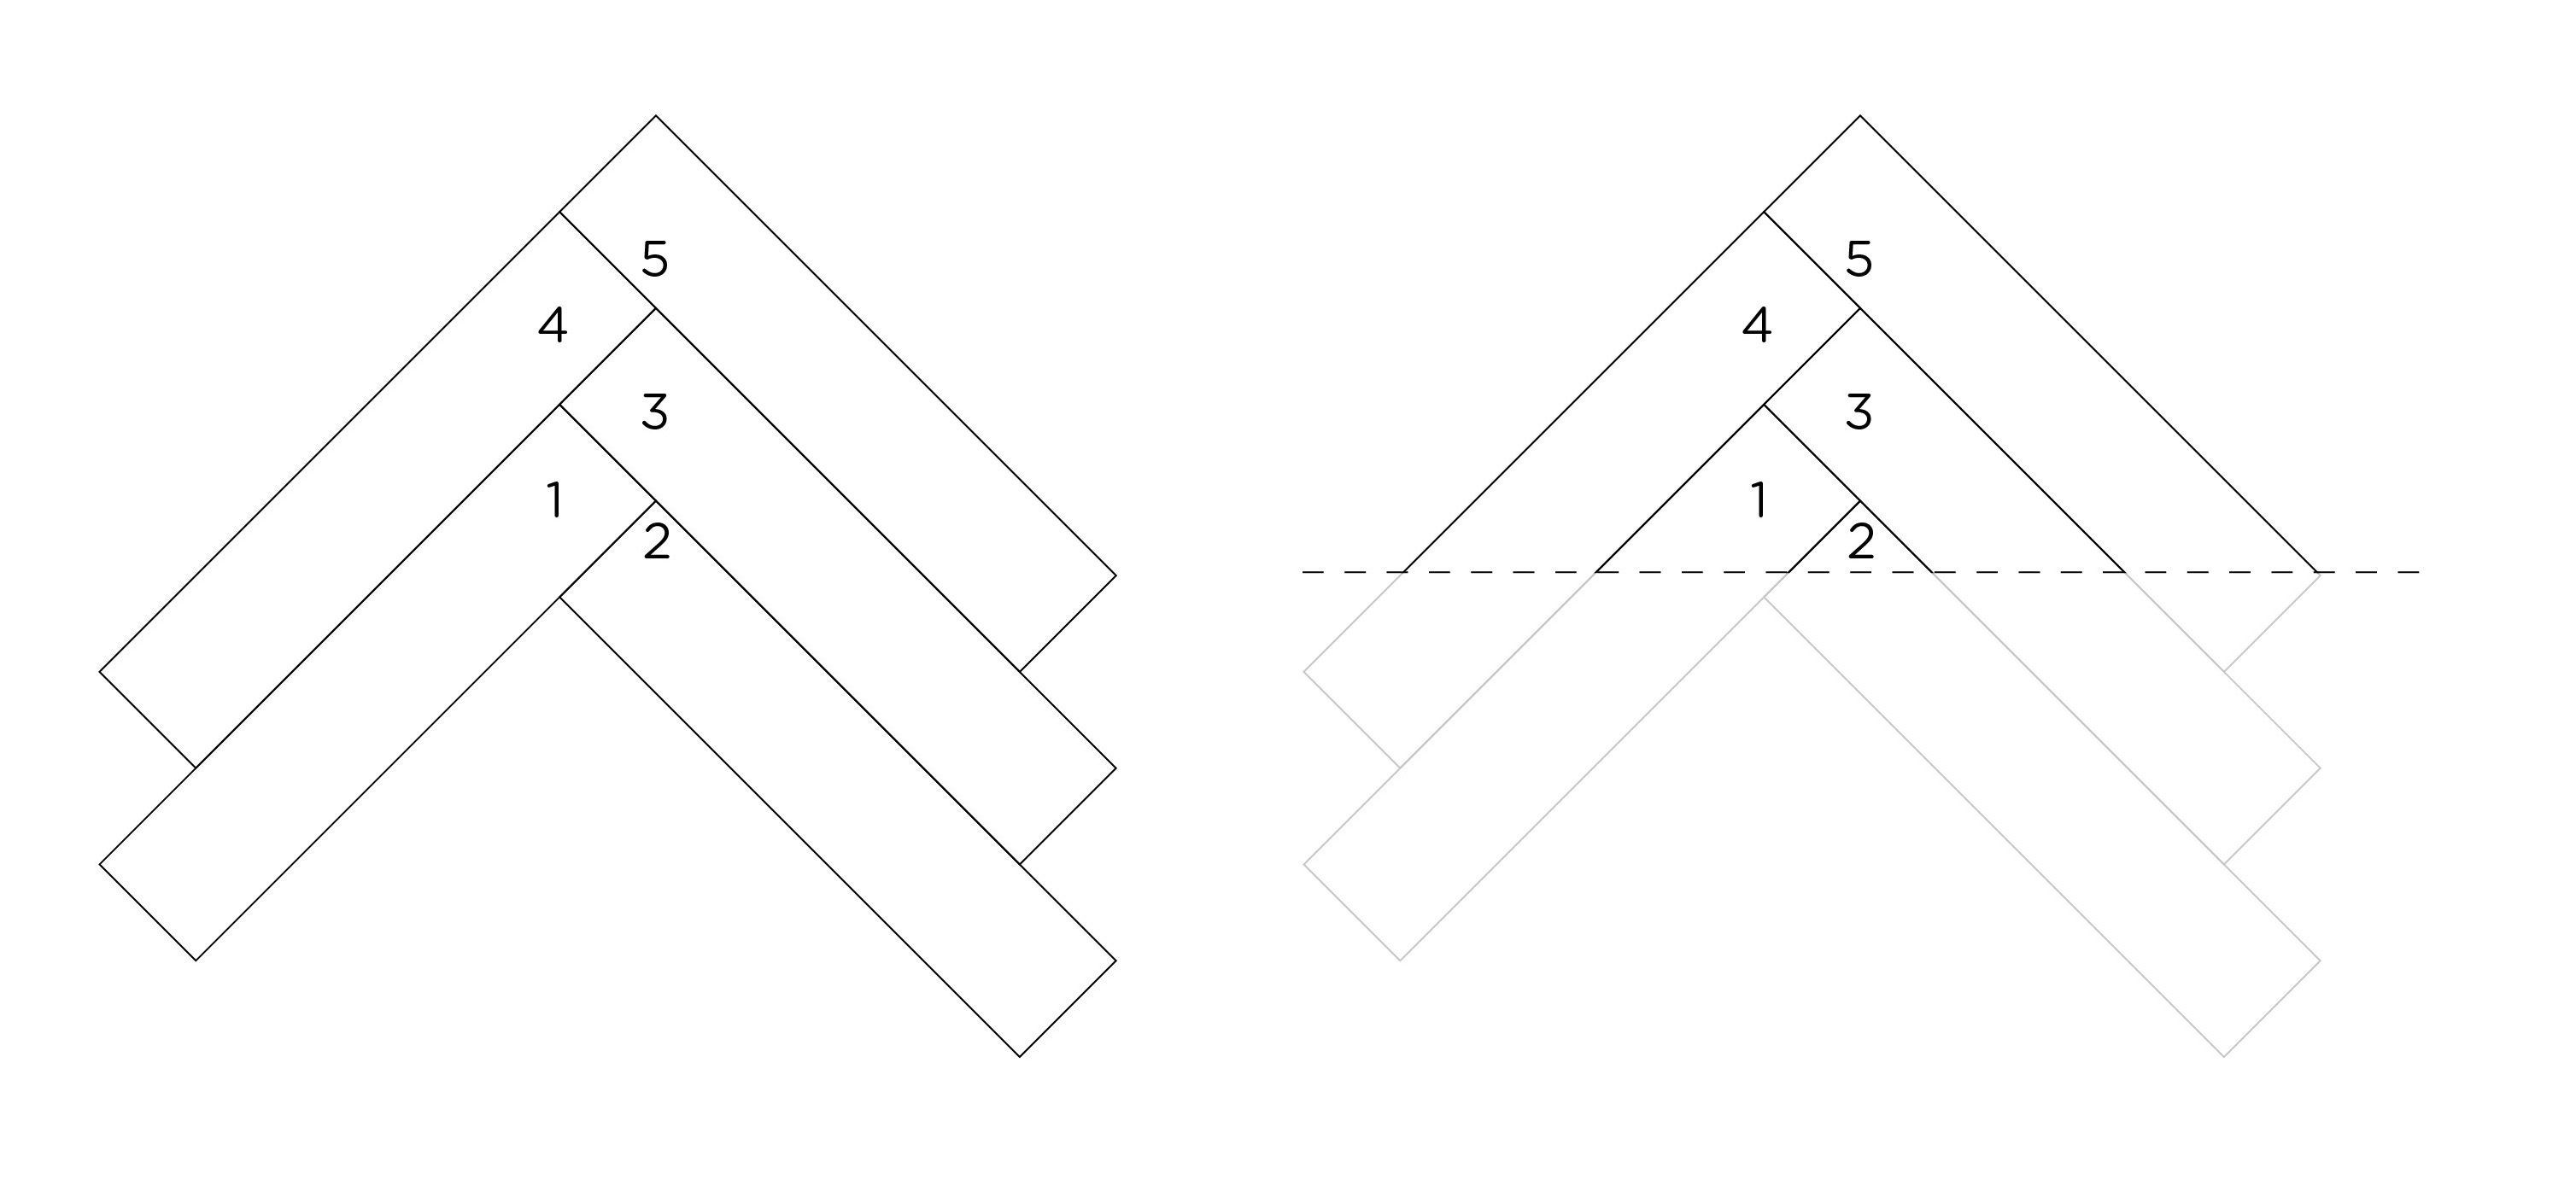
Tapi Top Tip – Remember to glue your triangles together when you create them so that you only need to move one piece rather than lots of little pieces.
Creating the pattern you want will require extra thought and care. Our steps only cover how to lay the standard herringbone flooring pattern. So, if you want a different pattern or want to experiment with doubled-up planks, you might want to speak to one of our floorologists at your local Tapi store to see what we can do.
Double check all your measurements, cover up your expansion gap with skirting boards or moulding, and finish your floor if it needs to be sealed. Ta-dah! Your beautiful new floor is ready for anything life throws at it.
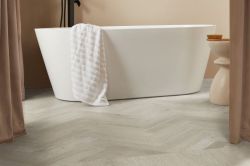
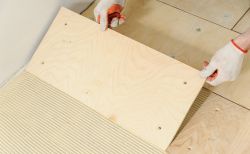
The process for installing herringbone flooring won’t differ too much depending on the type of subfloor that you have. Whether you have concrete subfloors or plywood subfloors, the only difference will be how you prepare your subfloor for new flooring. If it’s freshly laid, concrete can transfer moisture to your herringbone boards, so you’ll need to prioritise a moisture-resistant underlay for concrete subfloors. Our guide to subfloor prep has all the answers around this.
Visit us in-store and chat with one of our expert floorologists to learn more about herringbone flooring. Our team can help you choose the right herringbone flooring for your home, as well as help you arrange professional fitting at a time that suits you. Explore our wide range of stunning laminate and LVT products, including our top-quality herringbone luxury vinyl, herringbone engineered wood, and Karndean herringbone flooring options.
Take the first step towards transforming your home by visiting your nearest Tapi store or booking a free home visit. Alternatively, head on over to our Ideas Hub for more interior inspiration, including insights on the difference between chevron flooring and herringbone flooring.

Published: 02-03-2026


-250.jpg)


-250.jpg)
 copy-250.jpg)


-250.jpg)
-250.jpg)

-250.jpg)
 - Article Image (not header)-250.jpg)

-250.jpg)


-250.jpg)


-250.jpg)

-250.jpg)
-250.jpg)

 (2)-250.jpg)
 (2)-250.jpg)
-250.jpg)
-250.jpg)
-250.jpg)
-250.jpg)
-250.jpg)

-250.jpg)
-250.jpg)


-250.jpg)
-250.jpg)
-250.jpg)
-250.jpg)
-250.jpg)
-250.jpg)

-250.jpg)


-250.jpg)


 (1)-250.jpg)


-250.jpg)


-250.jpg)


-250.jpg)

-250.jpg)
-250.jpg)
-250.jpg)

Hold tight! We're getting your results

Did you know...
You can book a FREE home visit?