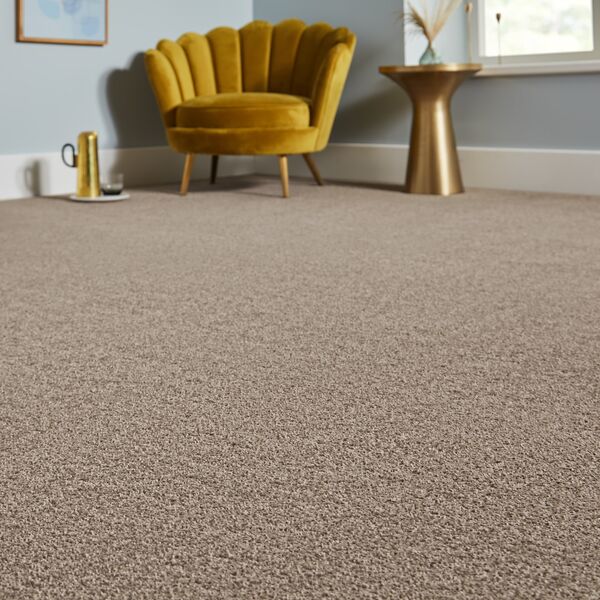
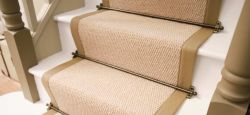
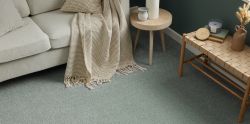
• Hurry! Our Black Friday Offers End Tuesday
How to lay vinyl flooring

How to lay vinyl flooring

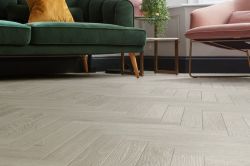
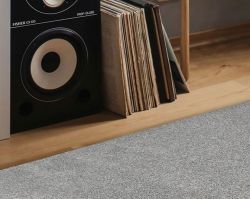
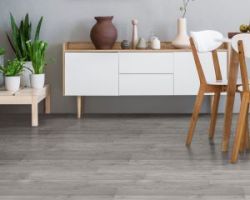
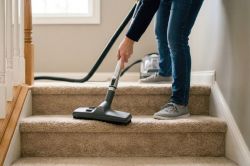
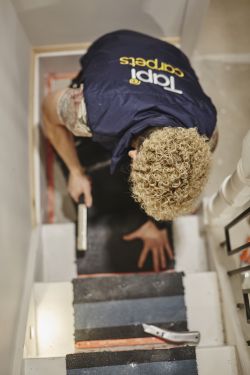
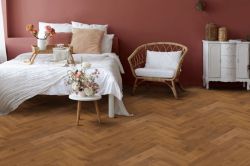
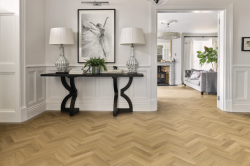
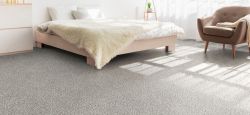
Once you’ve chosen your new vinyl flooring, it’s time to get it fitted! Here at Tapi, we’d always recommend that you use a professional fitter for laying vinyl flooring – which we can help arrange if you need us to. Vinyl flooring installation prices start from £6.75 per m2. The fitters can also uplift and remove your old floor at the same time for an additional cost, so you don’t have to lift a finger!

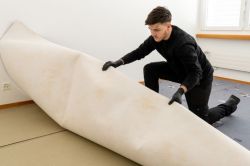
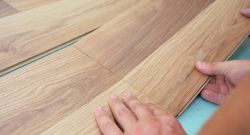
However, if you're a DIY expert who wants to find out how to fit vinyl flooring yourself, we’ve put together a handy guide with all the things you need to remember when laying sheet vinyl flooring.

In our guide, you'll find:

Order free flooring samples

Tool checklist for laying vinyl

Before you begin laying your vinyl flooring, make sure you’ve got all the tools below:

  • A tape measure
  • A pencil
  • Paper
  • Knee pads
  • A home-made scribing gauge
  • A concave Stanley knife
  • A straight edge (or you can use a metal tape measure)
  • A bolster chisel
  • Vinyl adhesive (spray or spread depending on your installation method)
Order free samples

How to lay vinyl flooring

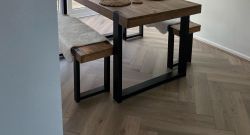
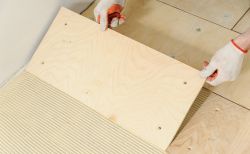
Discover how to lay vinyl flooring properly with our step-by-step guide:

  1. Measure the space – First things first, you need to measure your room for your new vinyl flooring. To help, we’ve created a room measuring guide that you can follow. Remember not to add any allowances onto your measurements – we’ll work this out when you submit your plans and measurements.
  • Tapi Top Tip: If you have fixtures in your room like a toilet or sink, include these in the total measurements of the room as they will need to be cut out of the sheet of vinyl during installation.
  1. Clear the area – Next, try to clear as much furniture out of the room as possible. As vinyl comes on a large sheet, it can be quite tricky to manoeuvre into place, so removing any potential obstacles will make it a little bit easier!
  • Tapi Top Tip: If you’re removing an old vinyl floor, you can use it as a template and draw the room shape onto your new vinyl. Very handy if your room is especially small, as you can cut it into shape somewhere where you have more space.
  1. Assess the subfloor – Make sure your subfloor is dry, smooth, structurally sound, and free from debris (that means scraping off the old glue if you’ve ripped out old vinyl or laminate).
  2. Acclimatise the sheet vinyl – Move your roll of vinyl into the room where it’s being fitted at least 24-48 hours beforehand to allow it to acclimatise to room temperature.
  3. Unroll and lay out the vinyl – Unroll your vinyl with the longest side of the sheet parallel to the longest clear wall and position it about 25mm away from the skirting board. 
  • Tapi Top Tip: Often, the skirting boards in your rooms will not be completely straight, so a scribing gauge will help the vinyl fit flush against the wall. To make a scribing gauge, find an offcut of wood, then hammer a nail into it about 30mm from one end until the point is just sticking out of the other side.
  1. Use the gauge to score the vinyl – Move the gauge slowly along the skirting using the nail to lightly score the outline of the skirting onto the vinyl. Use your Stanley knife to cut along this line, then slide the vinyl against the skirting board.
  2. Mark the internal corners – For internal corners, cut a small triangle out of each corner to enable the vinyl to lie flat.
  3. Create a crease with the bolster chisel – Use the bolster chisel to press the vinyl between the floor and the skirting, making a defined crease.
  4. Cut along the crease – Use your straight edge and a knife to cut along the crease, holding the knife at a slight angle as you go.
  5. Cut external corners – For any external corners, cut straight down from the edge of the vinyl to the floor, then trim away the excess vinyl, leaving 50mm - 100mm turned up at the skirting boards.
  6. Fit the vinyl between the skirting and the floor - Press into the angle between the skirting and the floor using a bolster chisel. Hold your straight edge against the crease and cut along it, angling the knife to get a neat finish.
  7. Adhere the vinyl to the floor – Once you’ve laid the whole sheet of vinyl, you need to stick it to the floor. For loose lay vinyl, lift the edges and spray adhesive along the perimeter of the room, then press down. For fully stuck vinyl, roll half of it back then apply spread adhesive to the floor. Replace the vinyl, then swap to the other side of the room and repeat this step. When the whole vinyl floor has been put back into position, press it down flat with a soft broom.
  • Tapi Top Tip: If you’re laying vinyl in a bathroom, you can seal the edges of the floor with silicone to ensure it’s completely waterproof.

How to lay vinyl flooring in difficult areas

You might also encounter some more difficult areas when fitting vinyl. Here’s how to install vinyl flooring around door frames, bathroom features and pipes:

How to fit vinyl flooring around door frames

  1. Using your Stanley knife, cut down to where the vinyl meets the floor and repeat this around the door frame at evenly spaced intervals.
  2. Cut away the excess but leave around 50mm-100mm turned up at the bottom so you can trim more accurately.
  3. Using the bolster chisel, press the vinyl into the angle between the door frame and the floor to make a crease, then cut along it.
  4. Cut in a straight line across the doorway so the vinyl flooring ends roughly halfway under it.
  5. Install a door bar to hold the vinyl in place.

How to fit vinyl flooring around a toilet or sink pedestal

  1. Lay your vinyl as far as the front of the pedestal, then fold it back on itself. Cut in a straight line from the edge to the centre of the pedestal.
  2. Make lots of small cuts in the vinyl around the pedestal base until the sheet lies flat. Take your time! Don’t cut too far in or tear the vinyl.
  3. Next, take your bolster chisel and push the vinyl around the base to make a crease, then cut around the crease and trim down each flap of vinyl until it fits perfectly.
  4. Roll the vinyl back into position around the base to check everything is ok.
  5. Lift it back up again, then put adhesive around the edges and along the join.
  6. Finally, press down to secure it in place and finish with silicone sealant to make it fully water-resistant.

How to lay sheet vinyl flooring around a radiator pipe

  1. Using your knife, make a straight cut from the edge of the vinyl to the pipe, then make lots of tiny cuts around the base of the pipe until the vinyl lies flat.
  2. Trim off the excess for a neat, professional finish.
Order free flooring samples

How to join two sheets of vinyl flooring

If you’re laying vinyl flooring in a large room, you might find you need to join two sheets of vinyl together. Here are a few things to remember:

  • To create a seamless look, use vinyl sheets cut from the same roll so the colours match.
  • Try to avoid joining your flooring in the doorway, as this is the area that gets the most wear. This means the join is likely to come apart (and even become a trip hazard) over time.
  • For patterned vinyl floors, you need to line up the patterns by sliding the second sheet along until it matches the first one (which will have already been fitted). If it’s a complicated pattern, you can overlap the sheets until the pattern lines up, then cut through both pieces of vinyl with your straight edge and Stanley knife.
  • Once they’re lined up perfectly, don’t move them! Fold back the edges one at a time, then use adhesive to stick them to the floor and press down firmly to lock in place.

And that’s it! Time to admire your newly laid vinyl flooring. As always, we recommend using professional fitters to lay our flooring, and this is something we can arrange for you.

Alternatively, if you're still in two minds as to which flooring to choose, have a look at our range of care guides, including vinyl vs lino.

What can go wrong when laying vinyl flooring?

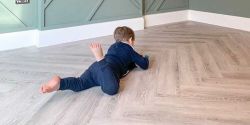
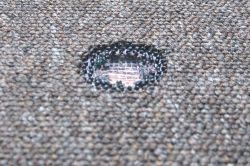
Vinyl flooring isn’t always easy to fit, and there are many things that could go wrong. Whilst it’s one of the most affordable flooring options, it could end up costing you much more to rectify if you make one of these mistakes:

  • Installing the vinyl immediately without acclimatising it first – It’s best to leave your roll of vinyl in the room where it will be laid for 24-48 hours before fitting, so it can adapt to the room temperature before being unrolled. Vinyl shrinks when cold, so you might need to turn the heating on if you’re fitting it in winter!
  • Not removing your old flooring – Taking up and getting rid old flooring is a messy and dusty job. If it’s really old and firmly stuck down, it can take hours to remove. And then you need to dispose of it too! If you’re having your flooring fitted with us, uplift and removal is something that can also be arranged with the fitters.
  • Ignoring your subfloor – The good news is that vinyl flooring can be laid directly onto most subfloors. Before the vinyl can be laid, you need to make sure your subfloor is dry, smooth, structurally sound, and free from debris. This is another thing that Tapi can arrange to be taken care of!
  • Cutting the vinyl incorrectly – As the saying goes, better to measure twice and cut once! It needs to fit perfectly, so it’s important to measure your vinyl flooring twice. If it’s slightly too big, it will buckle and crinkle. If it’s too small, you’ll have gaps at the edges. Beware – one wrong cut and you’ve ruined the entire sheet of vinyl!
  • Creasing or tearing the vinyl – Although vinyl is reasonably flexible, smaller rooms can be challenging to fit. The roll is 2m wide and needs to be shaped, and if you’re too rough with it, the vinyl could tear or crease.
  • Sticking the vinyl down incorrectly – Loose lay vinyl is held in place by its own weight and only needs spray adhesive around the edges. Fully stuck vinyl requires adhesive spread over the entire subfloor. Using the wrong installation method will cause issues with the vinyl.
Real Customer Home

Vinyl flooring installation: FAQs

What is a wear layer?

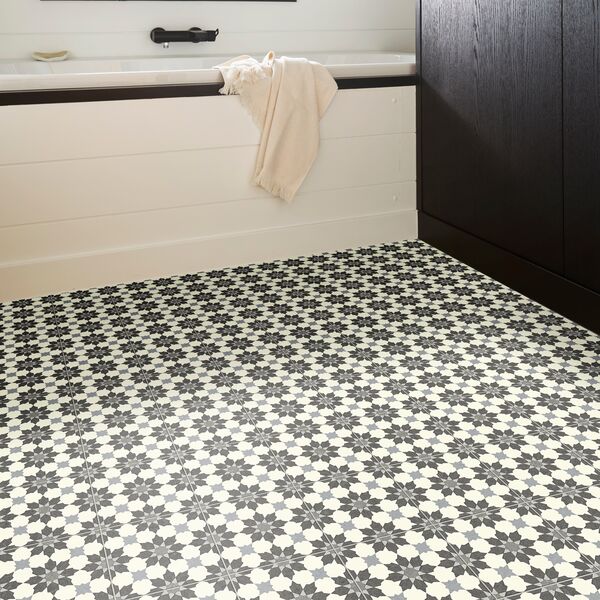
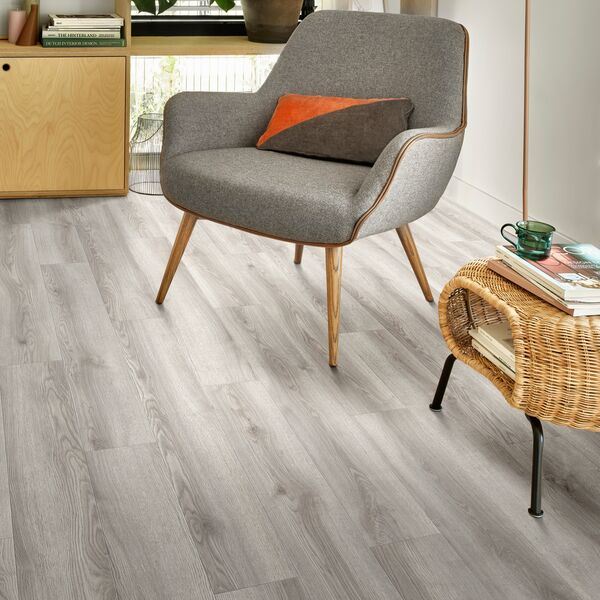
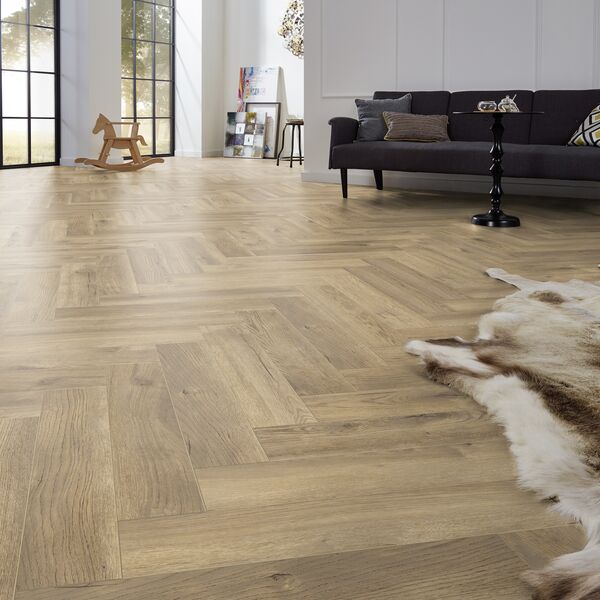
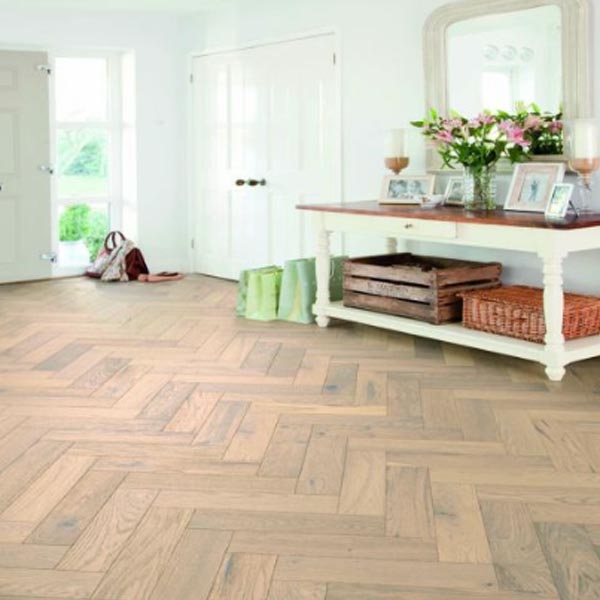
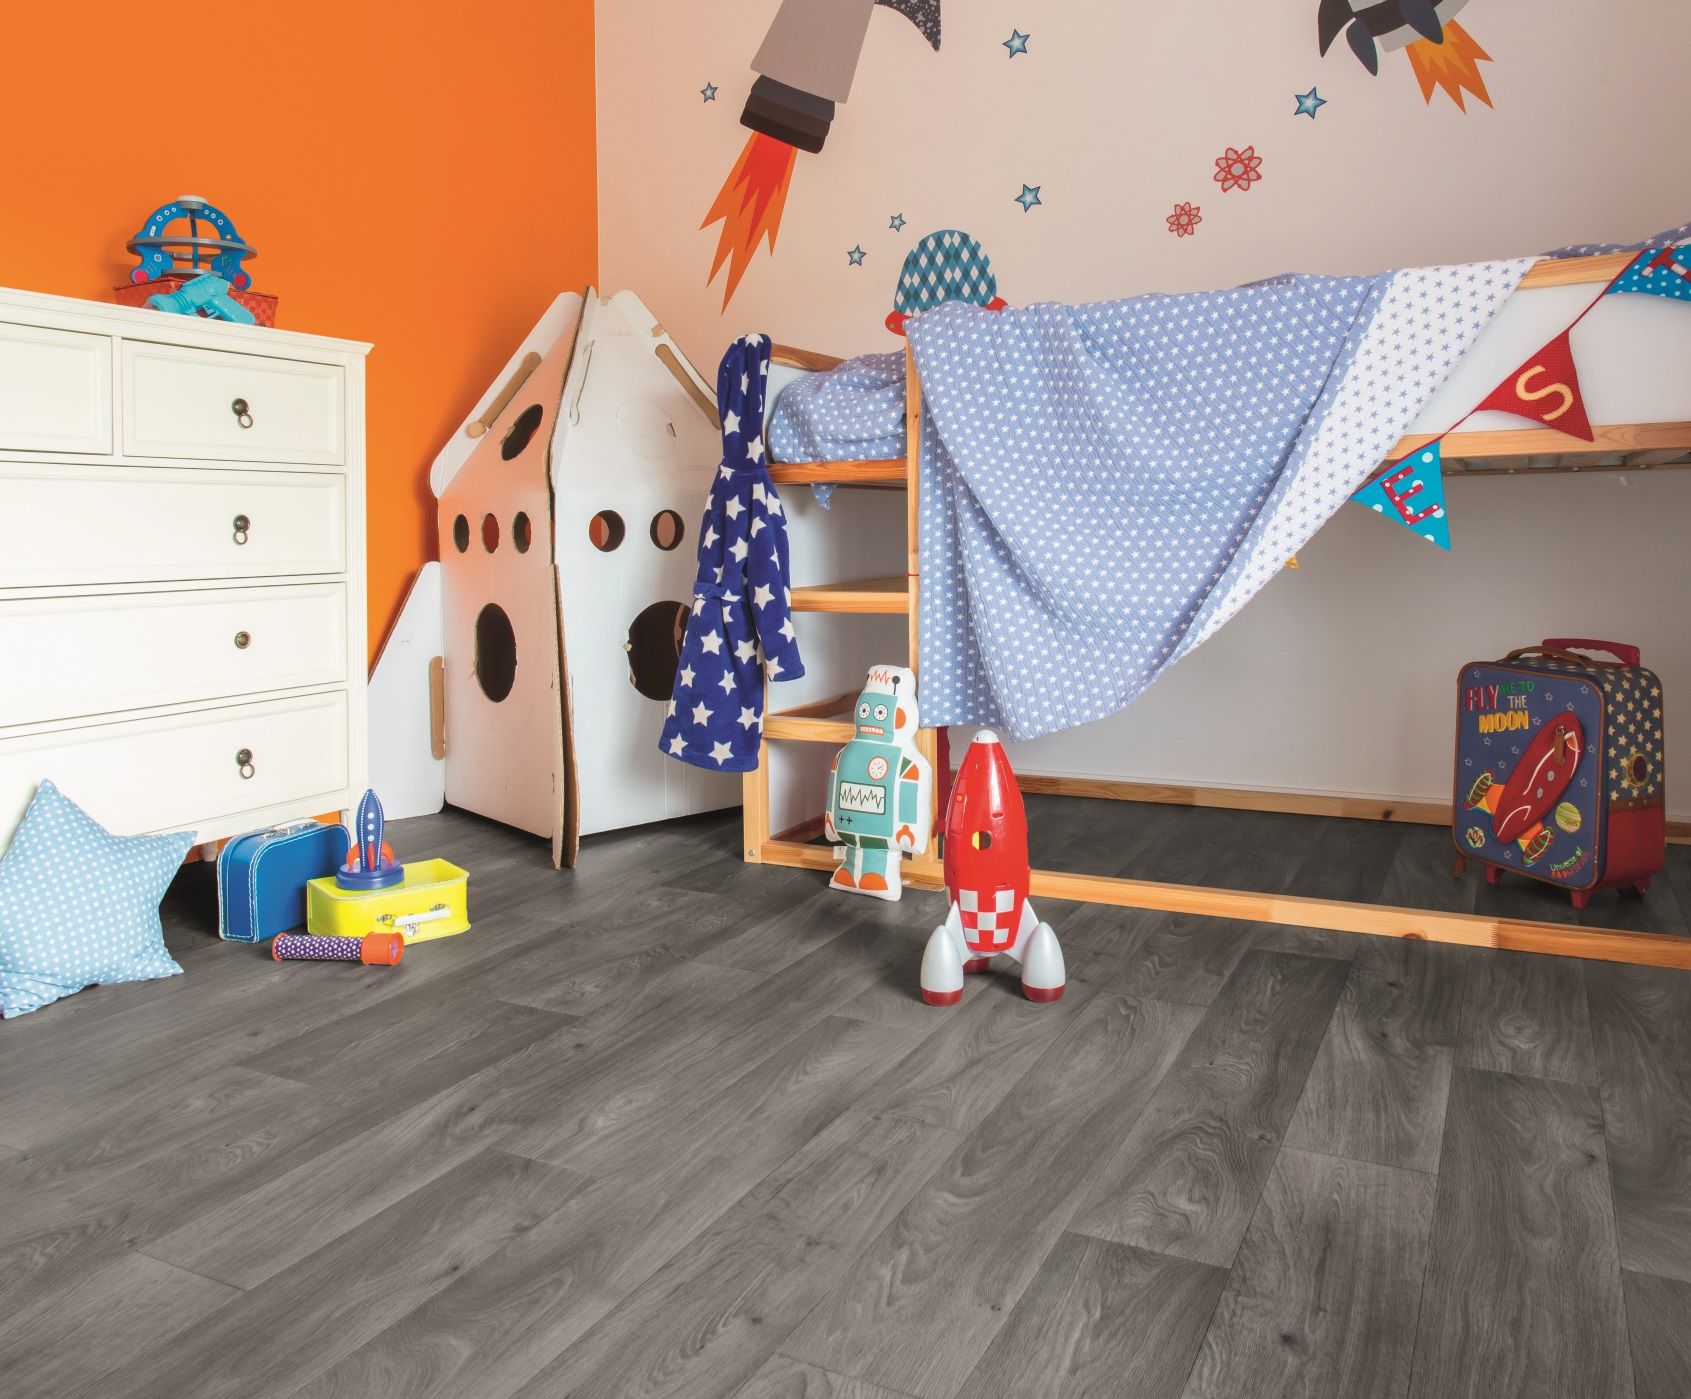
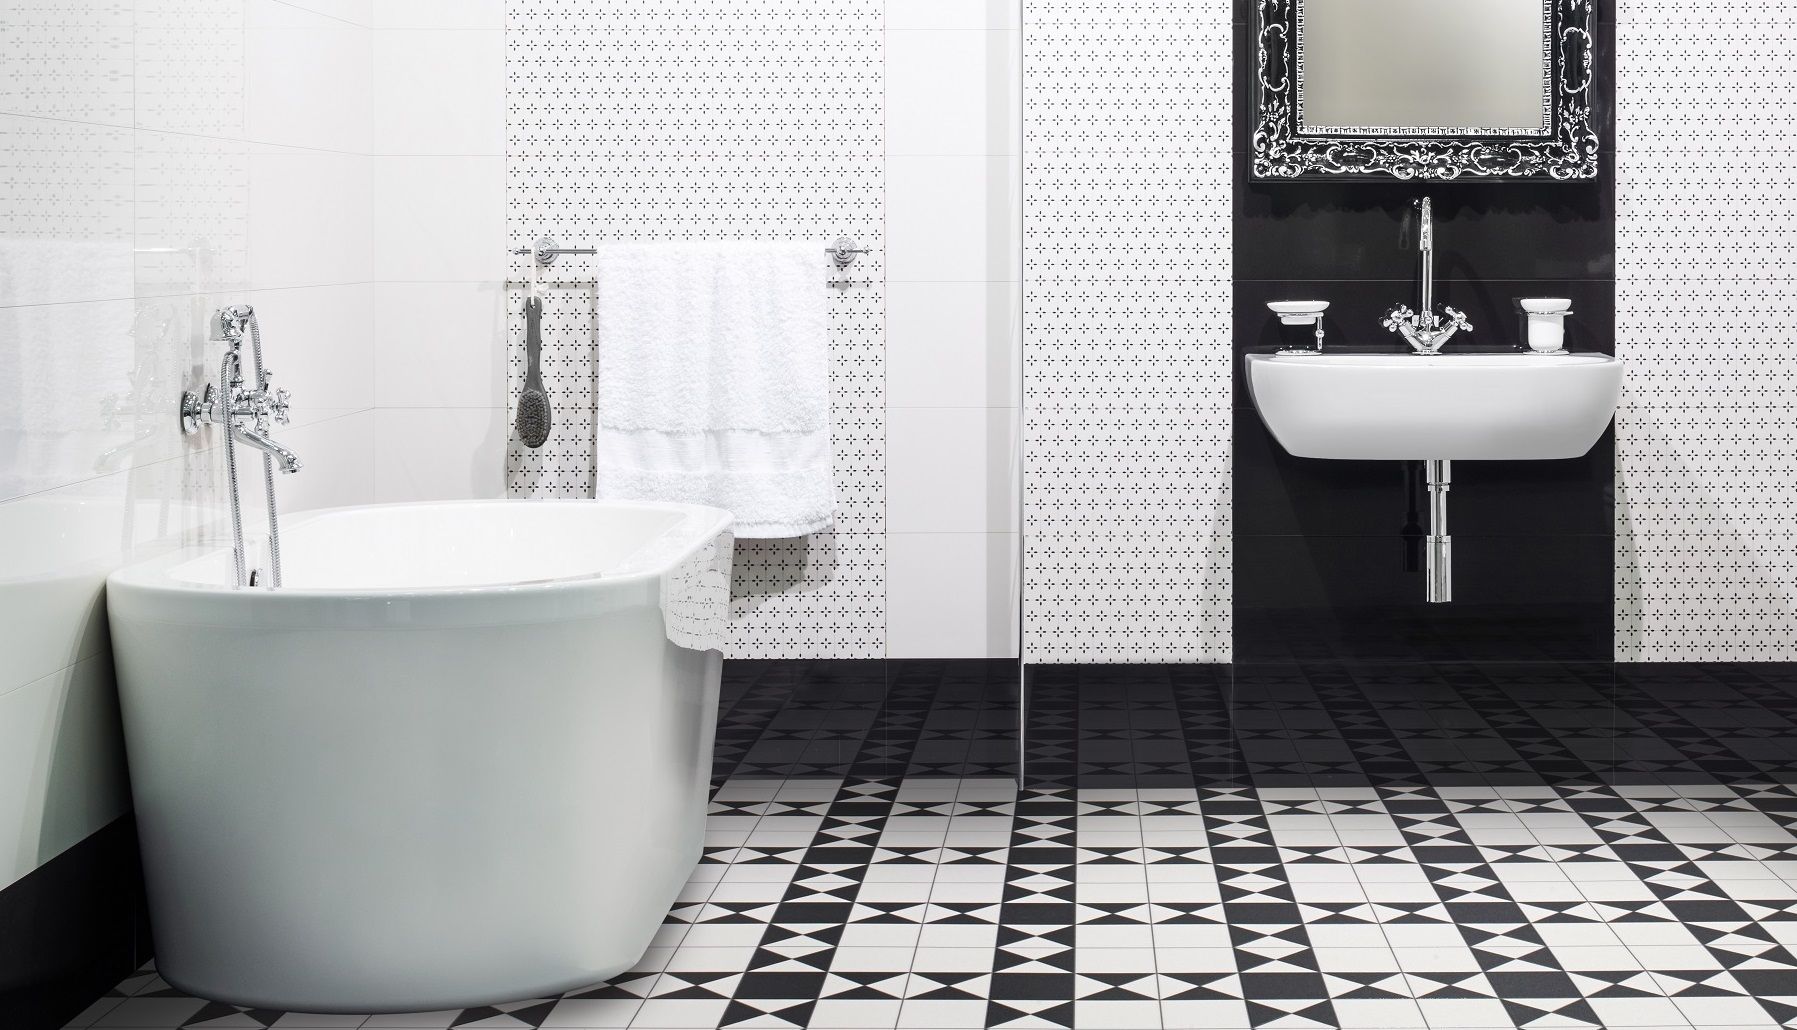
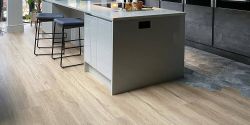
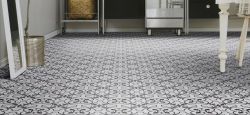
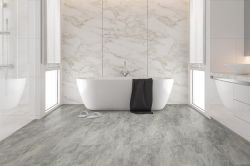
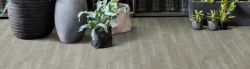
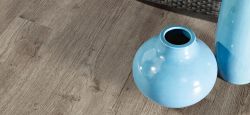
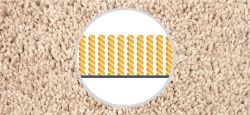
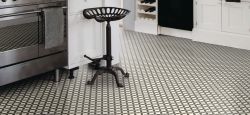
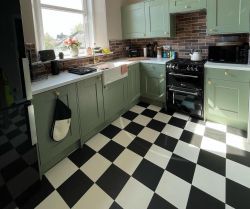
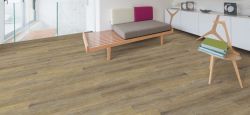
The wear layer is a clear top surface that provides durability, stain and scratch resistance for vinyl flooring. Before you purchase, you'll need to determine the usage of the vinyl flooring to decide on the right level of durability. If you have children, pets, or there's lots of foot traffic in your home, you should consider a thicker wear layer to ensure you can enjoy your new flooring's design for many years to come.

How can I care for my new vinyl flooring?

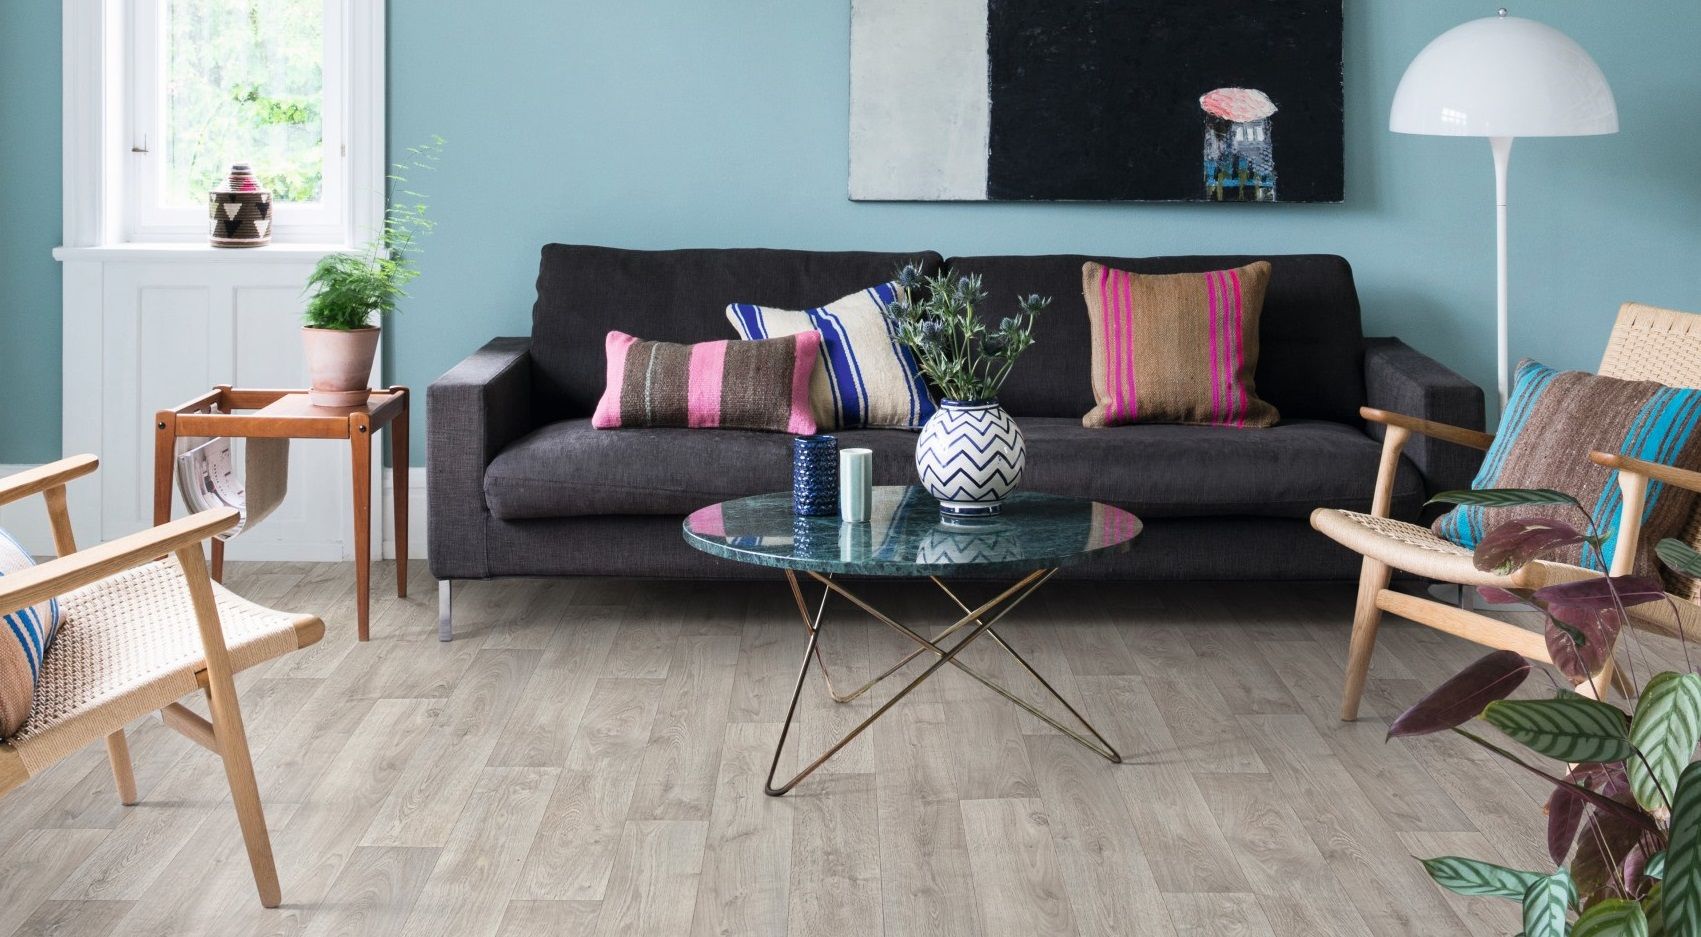
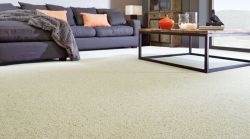
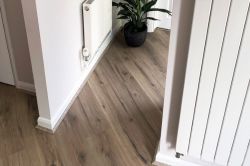
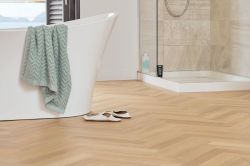
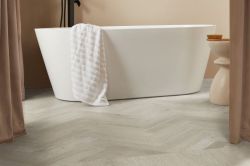
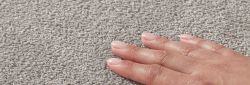
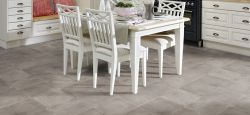
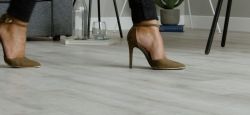
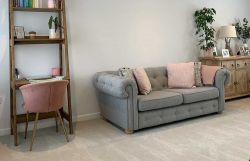
One of the many benefits of vinyl flooring is that it's super easy to take care of. Its hard-wearing nature means that vinyl flooring can withstand high footfall and the daily demands of family life without compromising on style. Simply sweep or vacuum your vinyl flooring every evening and wipe up any potential spills right away. Occasionally, clean with a damp (not sodden) mop and a mild detergent to keep it looking as good as new. Explore our expert vinyl flooring care guide for more tips.

We can help arrange professional vinyl flooring installation

Changed your mind about fitting vinyl flooring yourself? Don’t worry – we use highly skilled independent fitters who are experts in laying vinyl flooring. When you order your flooring from Tapi, we can arrange fitting for you. Just call or visit your nearest store and we’ll get it sorted!

If you really want to have a go at laying flooring yourself, we’d suggest trying laminate oak flooring or click LVT (luxury vinyl flooring). Both use the click method, which just slots into place like a jigsaw puzzle! Read our guide on how to lay vinyl click flooring here to learn more.

Post author

Last reviewed: 27-11-2025

Discover more guides from Tapi